Home
/ How To Draw On A Shirt With A Sharpie : Lay out the markers on the table and let them go to it.
How To Draw On A Shirt With A Sharpie : Lay out the markers on the table and let them go to it.
How To Draw On A Shirt With A Sharpie : Lay out the markers on the table and let them go to it.. I did 6 circles on this 3t undershirt. Draw on the shirt as you desire. If you don't protect the back, the marker will bleed through, making a mess on the back of the pillowcase. You can draw lines, shapes, dots. Try different colors of sharpies for an even cooler effect.
Mronallo asked how you fill the shapes in without pulling on the shirt. I then marked off an area of the shirt with washi tape to help him know where to draw. Insert the cardboard inside the pillowcase. The kids may want to draw their design in pencil before using the markers. Try different colors of sharpies for an even cooler effect.
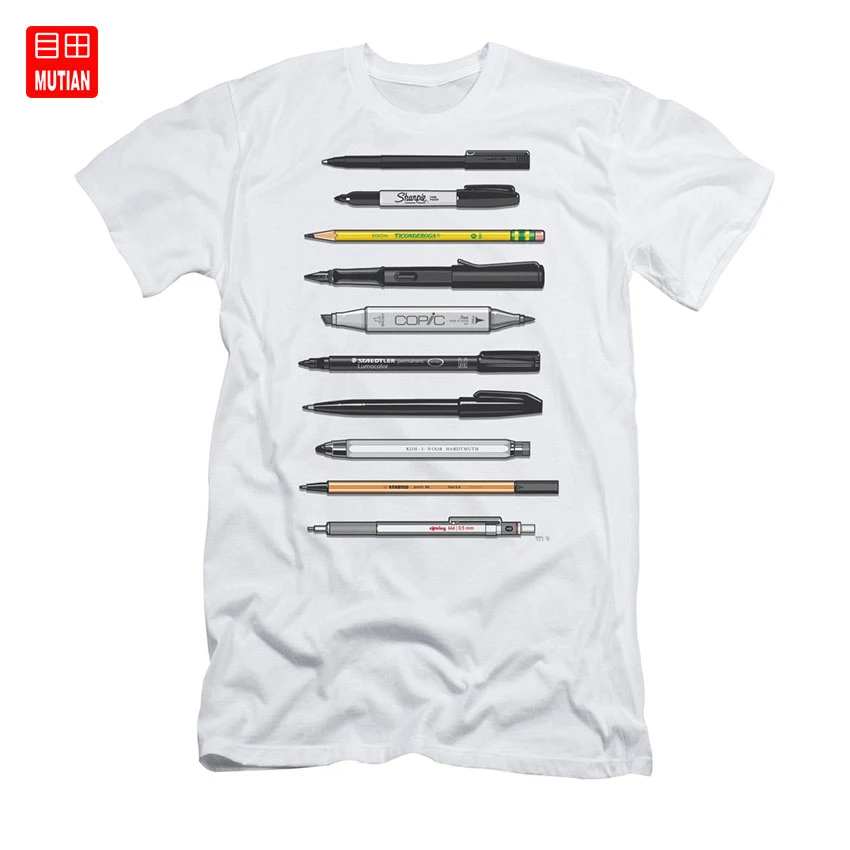
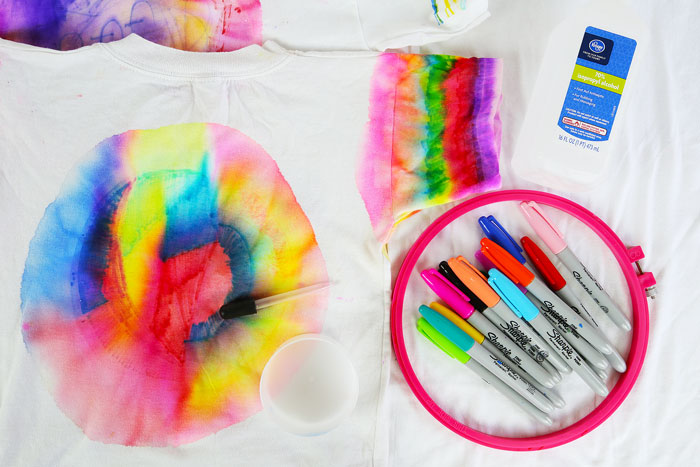
Pen Collection For Sketching And Drawing Ii T Shirt Sharpie Permanent Marker Dixon Ticonderoga Pencil Staedler Lamy Fountain T Shirts Aliexpress from ae01.alicdn.com The most popular marker that you can use for fabric is the sharpie permanent fabric markers. The ink wicks into the cotton pad. Try different colors of sharpies for an even cooler effect. I hope you try it and tell me how it went!! Place the ink stained part of the clothing face down on a layer of clean paper towels. Place a cup underneath the spot, smooth fabric, and secure with a rubber band. I did 6 circles on this 3t undershirt. How to make sharpie tie dye shirts.
I then marked off an area of the shirt with washi tape to help him know where to draw.
If you don't protect the back, the marker will bleed through, making a mess on the back of the pillowcase. The ink wicks into the cotton pad. Select the sharpie pen colors for your design. This will keep the ink from running through to the other side. Print out images you'd like to trace to get a more professional look. Continue drying between the circles until you're complete. By giving him a boundary, i helped him find a cool place to showcase his designs in a pleasing manner. Using one color of sharpie, create a pattern around the center of the stretched fabric. Place a stiff piece of cardboard in between the front and back sides of the clothing. I hope you try it and tell me how it went!! I wanted his shirt to look kid designer and not just a crazy mess. The easiest method uses heat from an iron or clothes drier. Draw on old christmas ornaments with sharpie pens for a an updated look.
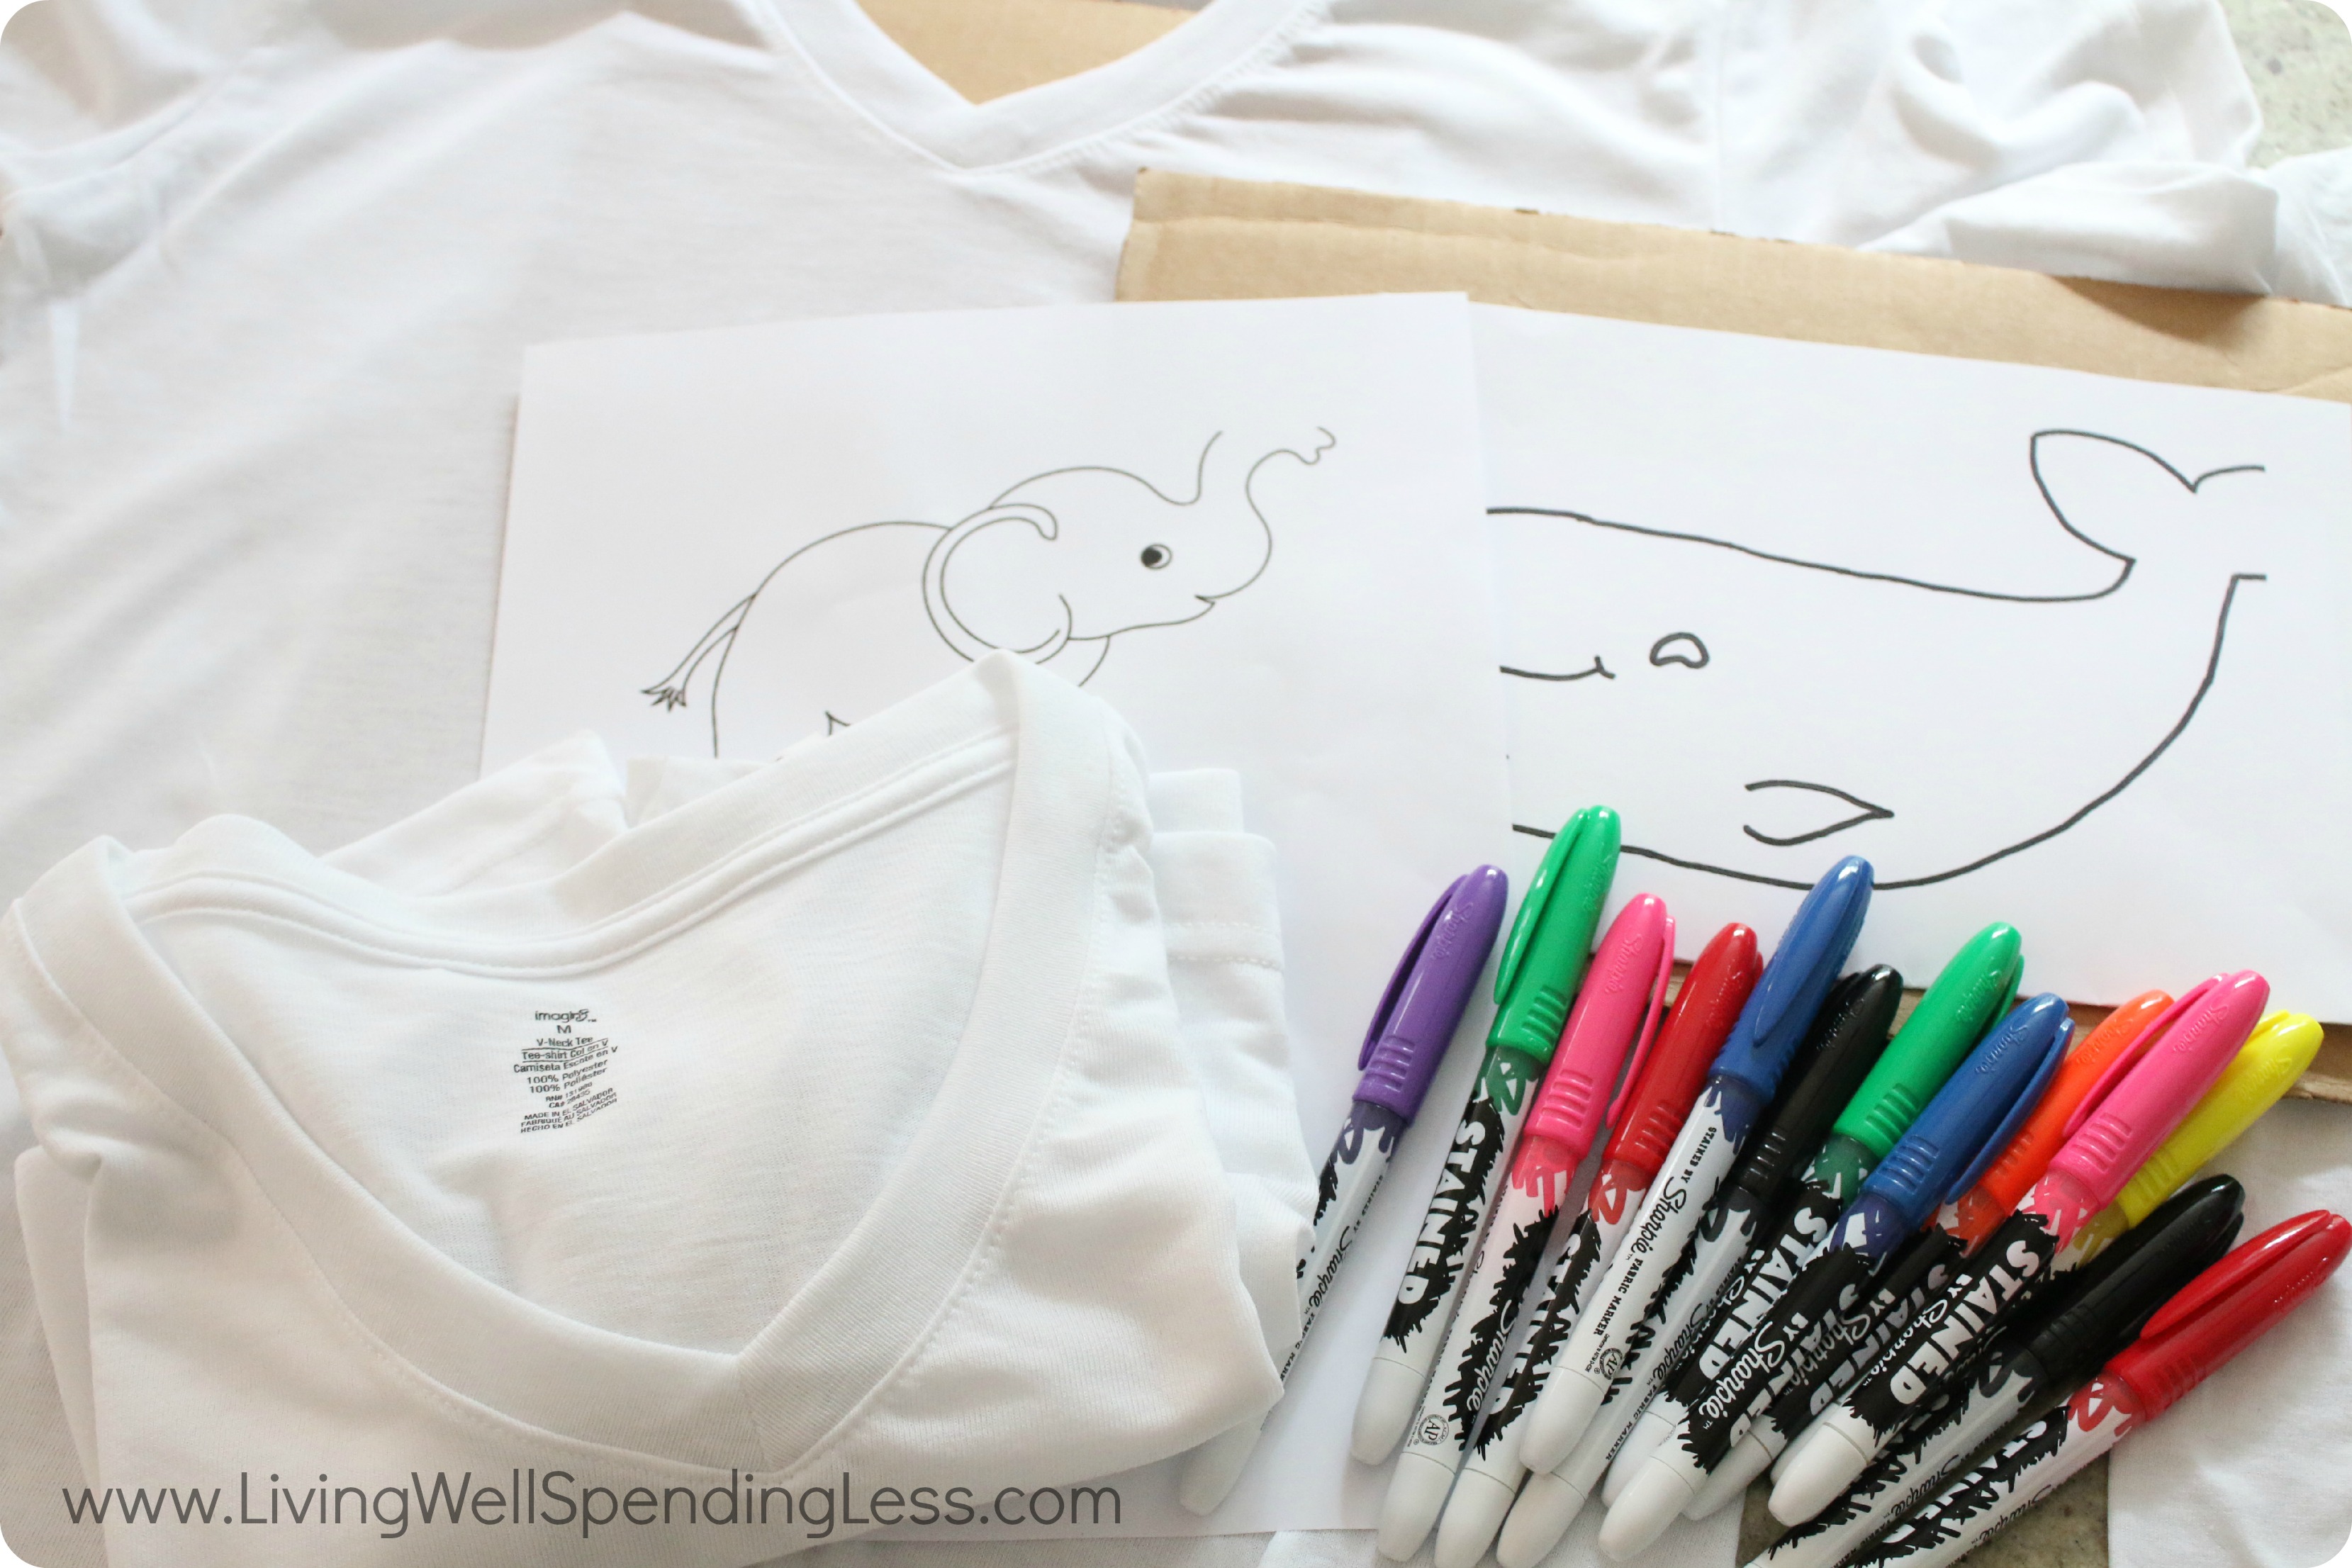
Regular sharpie ink requires setting, but for the best results, you should use sharpies or other markers designed for use on fabric. Print out images you'd like to trace to get a more professional look. How to get sharpie to stay on a shirt. What you will need to make these awesome sharpie tie dye shirts is in this picture below. Wait 24 hours before washing.
Easy And Fun Diy Sharpie T Shirts Simple Sharpie Crafts For Kids from www.livingwellspendingless.com (with young kids, the eye droppers always felt like a much safer option.) You can draw lines, shapes, dots. If you like, you can use a third, fourth, or even fifth marker to draw some more things. The ink wicks into the cotton pad. Continue drying between the circles until you're complete. Stained fabric markers by sharpie pieces of cardboard for each shirt print outs of the image you want to trace. They work great and are easy to use. Draw on the shirt as you desire.
Mronallo asked how you fill the shapes in without pulling on the shirt.
This will keep the ink from running through to the other side. Place a cup underneath the spot, smooth fabric, and secure with a rubber band. Simply paint a thin coating of the paint over all the sharpie lines and let the paint dry. This could be a great craft for the kids too and would make a great diy gift idea! Wait 24 hours before washing. Continue drying between the circles until you're complete. By giving him a boundary, i helped him find a cool place to showcase his designs in a pleasing manner. Draw on the shirt as you desire. The easiest method uses heat from an iron or clothes drier. Draw on old christmas ornaments with sharpie pens for a an updated look. Place a stiff piece of cardboard in between the front and back sides of the clothing. Start by placing the cardboard inside the shirt to prevent the ink from transferring through to the back and then place the image you want to trace inside the shirt, on top of the cardboard. Using one color of sharpie, create a pattern around the center of the stretched fabric.
This will keep the ink from running through to the other side. I wanted his shirt to look kid designer and not just a crazy mess. What you will need to make these awesome sharpie tie dye shirts is in this picture below. You're not damaging the shirt, just moving it so it doesn't line up with the reference drawing anymore. I then marked off an area of the shirt with washi tape to help him know where to draw.
How To Do Sharpie Tie Dye Babble Dabble Do from cdn.babbledabbledo.com The kids may want to draw their design in pencil before using the markers. You're not damaging the shirt, just moving it so it doesn't line up with the reference drawing anymore. I have found that after they air for about an hour it helps to heat set the clothing in the dryer for about 10 to 20 minutes. I wanted his shirt to look kid designer and not just a crazy mess. Print out images you'd like to trace to get a more professional look. I did 6 circles on this 3t undershirt. Stained fabric markers by sharpie pieces of cardboard for each shirt print outs of the image you want to trace. Try different colors of sharpies for an even cooler effect.
Continue drying between the circles until you're complete.
If you like, you can use a third, fourth, or even fifth marker to draw some more things. They work great and are easy to use. Using one color of sharpie, create a pattern around the center of the stretched fabric. This could be a great craft for the kids too and would make a great diy gift idea! I did 6 circles on this 3t undershirt. Continue drying between the circles until you're complete. Just pull out that sharpie you have sitting in the drawer! Regular sharpie ink requires setting, but for the best results, you should use sharpies or other markers designed for use on fabric. I hope you try it and tell me how it went!! The classic black sharpie is always nice, but don't forget about all the colorful and metallic sharpies for the festive season. I then marked off an area of the shirt with washi tape to help him know where to draw. Well, it is possible, and you can do it by following easy methods. The ink wicks into the cotton pad.
How to make sharpie tie dye shirts how to draw on a shirt. I have found that after they air for about an hour it helps to heat set the clothing in the dryer for about 10 to 20 minutes.